The making of a labyrinth in a garden
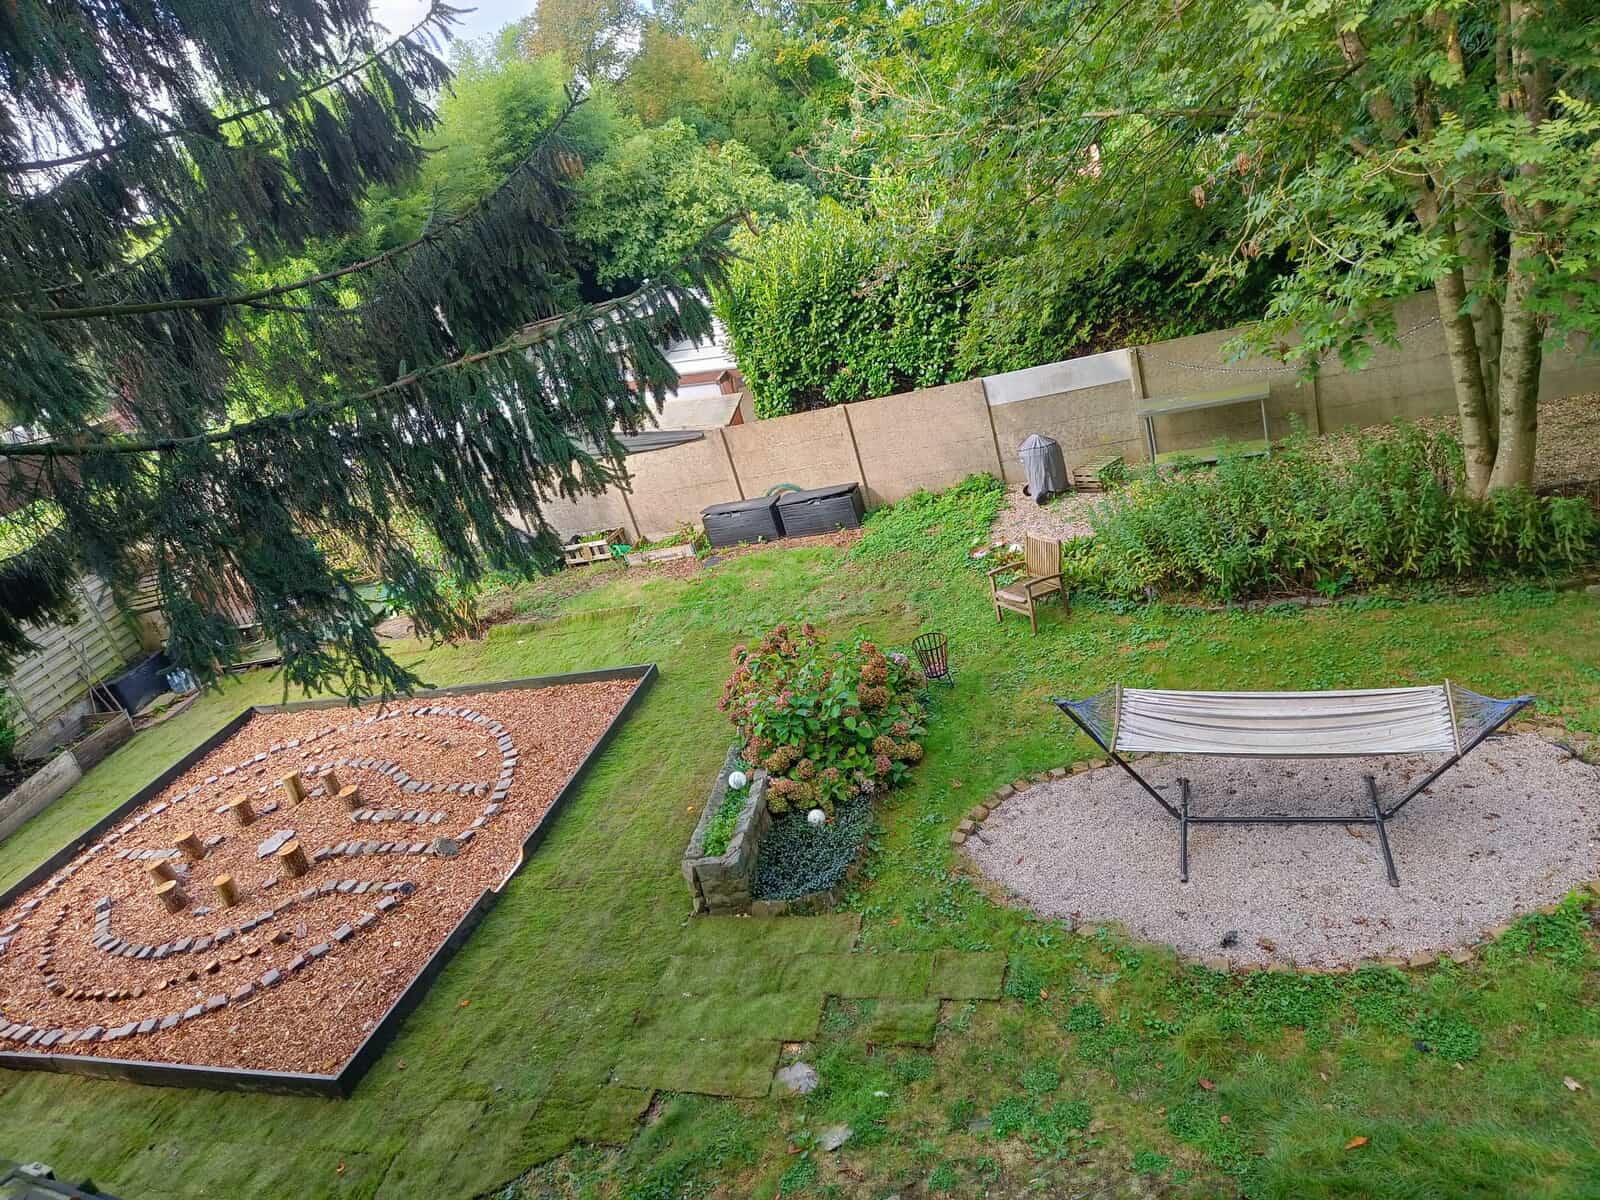
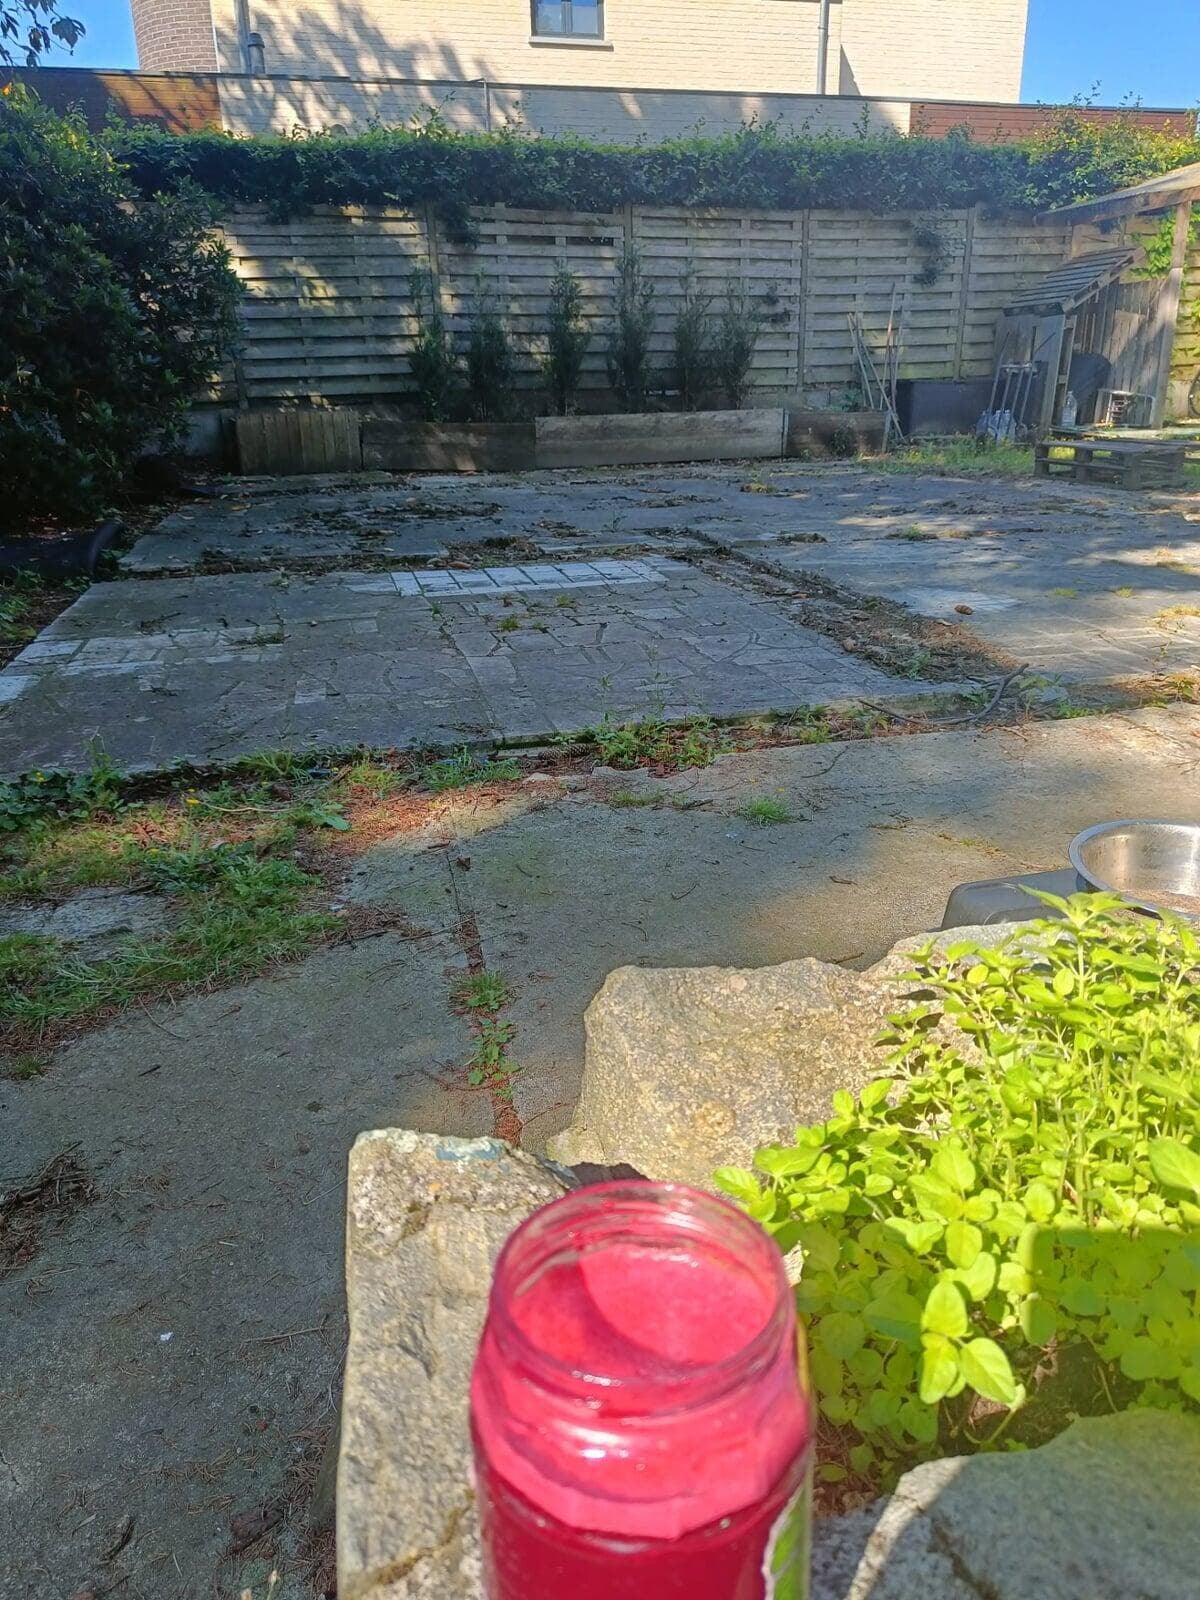
For the past two years, I’ve been transforming my garden. I started without a clear plan, letting my intuition guide me step by step. This journey has been healing for both myself and the garden. As I worked, the garden began to reveal its potential. However, there was one area I left untouched: the space at the end of the garden where a small wooden chalet once stood. In 2023, I wasn’t sure what to do with that spot. But a year later, as I prepared to sell my house, it became clear: that area was perfect for my own labyrinth!
It’s funny how I didn’t see it before.
In the summer of 2024, I finally had the time to take my garden to the next level. I wanted to complete this project before moving on and giving my garden a new life with someone else. This external transformation mirrored my inner journey, reflecting the new life that was unfolding step by step.
Typically, building a labyrinth is a social activity that you can do with your community. However, in this case, I had to undertake the project alone. I needed to stay connected to the space, myself, and the labyrinth throughout the entire process. Let me guide you through my journey.
Phase 1: Choosing the space
At a certain moment, you begin to see and feel the space where the labyrinth can be created. It was always there, but it had different purposes over the years. This area served as a fireplace, a potential workspace for my office, a play area for my daughter, and a sunny spot to relax. It had many identities, but ultimately, it became what it was meant to be: the perfect space for my labyrinth.
This location offers a beautiful view of the garden, and I realized that placing the entrance on the east side would be ideal.
Phase 2: Choosing the form of the labyrinth
Choosing the design for your labyrinth can be a challenging yet rewarding process. Considering the specific measurements of your space, the intended use of the labyrinth, and the materials you wish to incorporate, it’s essential to make an informed choice.
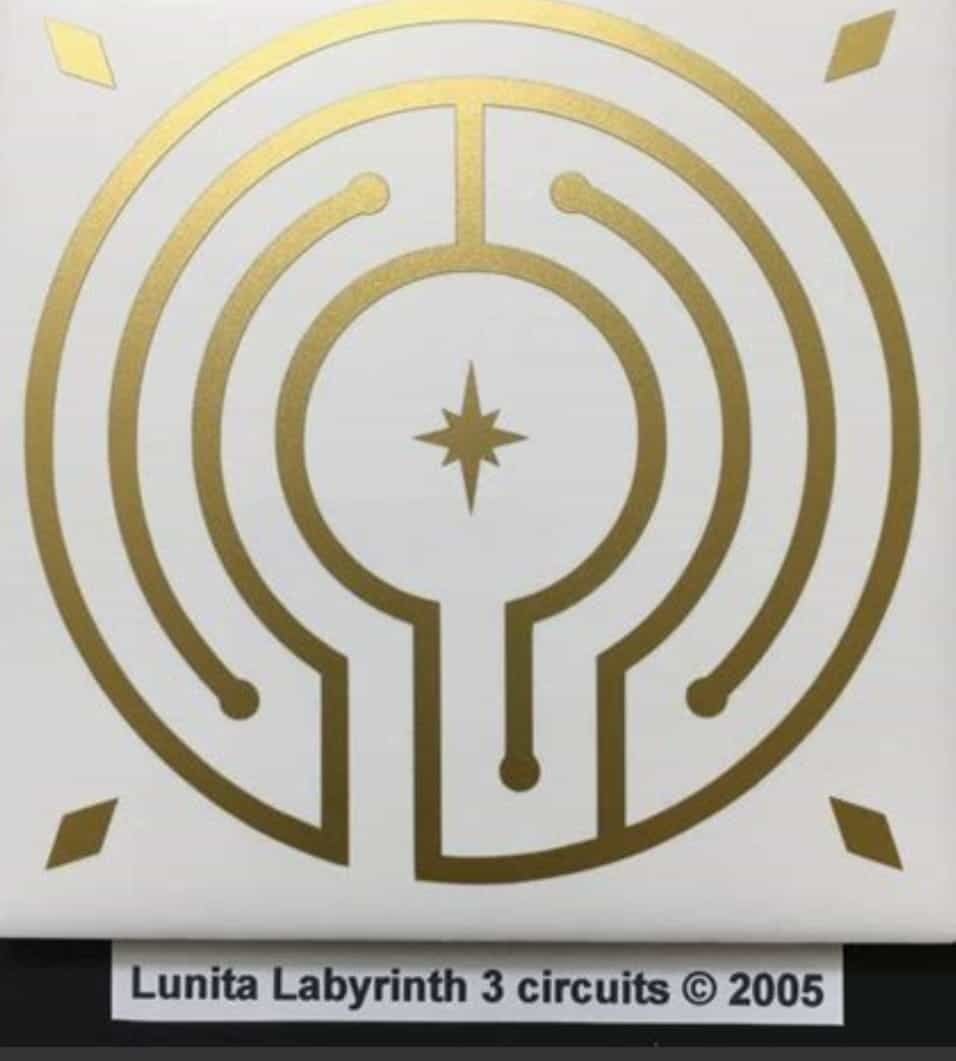
After some contemplation, I decided to adapt a newer model called "Lunity," modifying it slightly to create my own design, which I named "Female Balance."
When selecting a labyrinth design, you generally have three main styles to choose from:
1. **Classical**: These designs are often circular and feature a single, non-bifurcating path leading to the center. They have a timeless quality and are widely recognized.
2. **Medieval**: These labyrinths may incorporate intricate patterns and historical elements, often reflecting the artistry of the time.
3. **Modern**: Contemporary designs can be more abstract and may incorporate unique shapes and pathways, allowing for personal expression.
Each style offers various adaptations and variations, so you can find a design that resonates with your vision and the space you have available.
By thoughtfully considering these aspects, you can create a labyrinth that not only fits well within your garden but also serves its intended purpose beautifully.
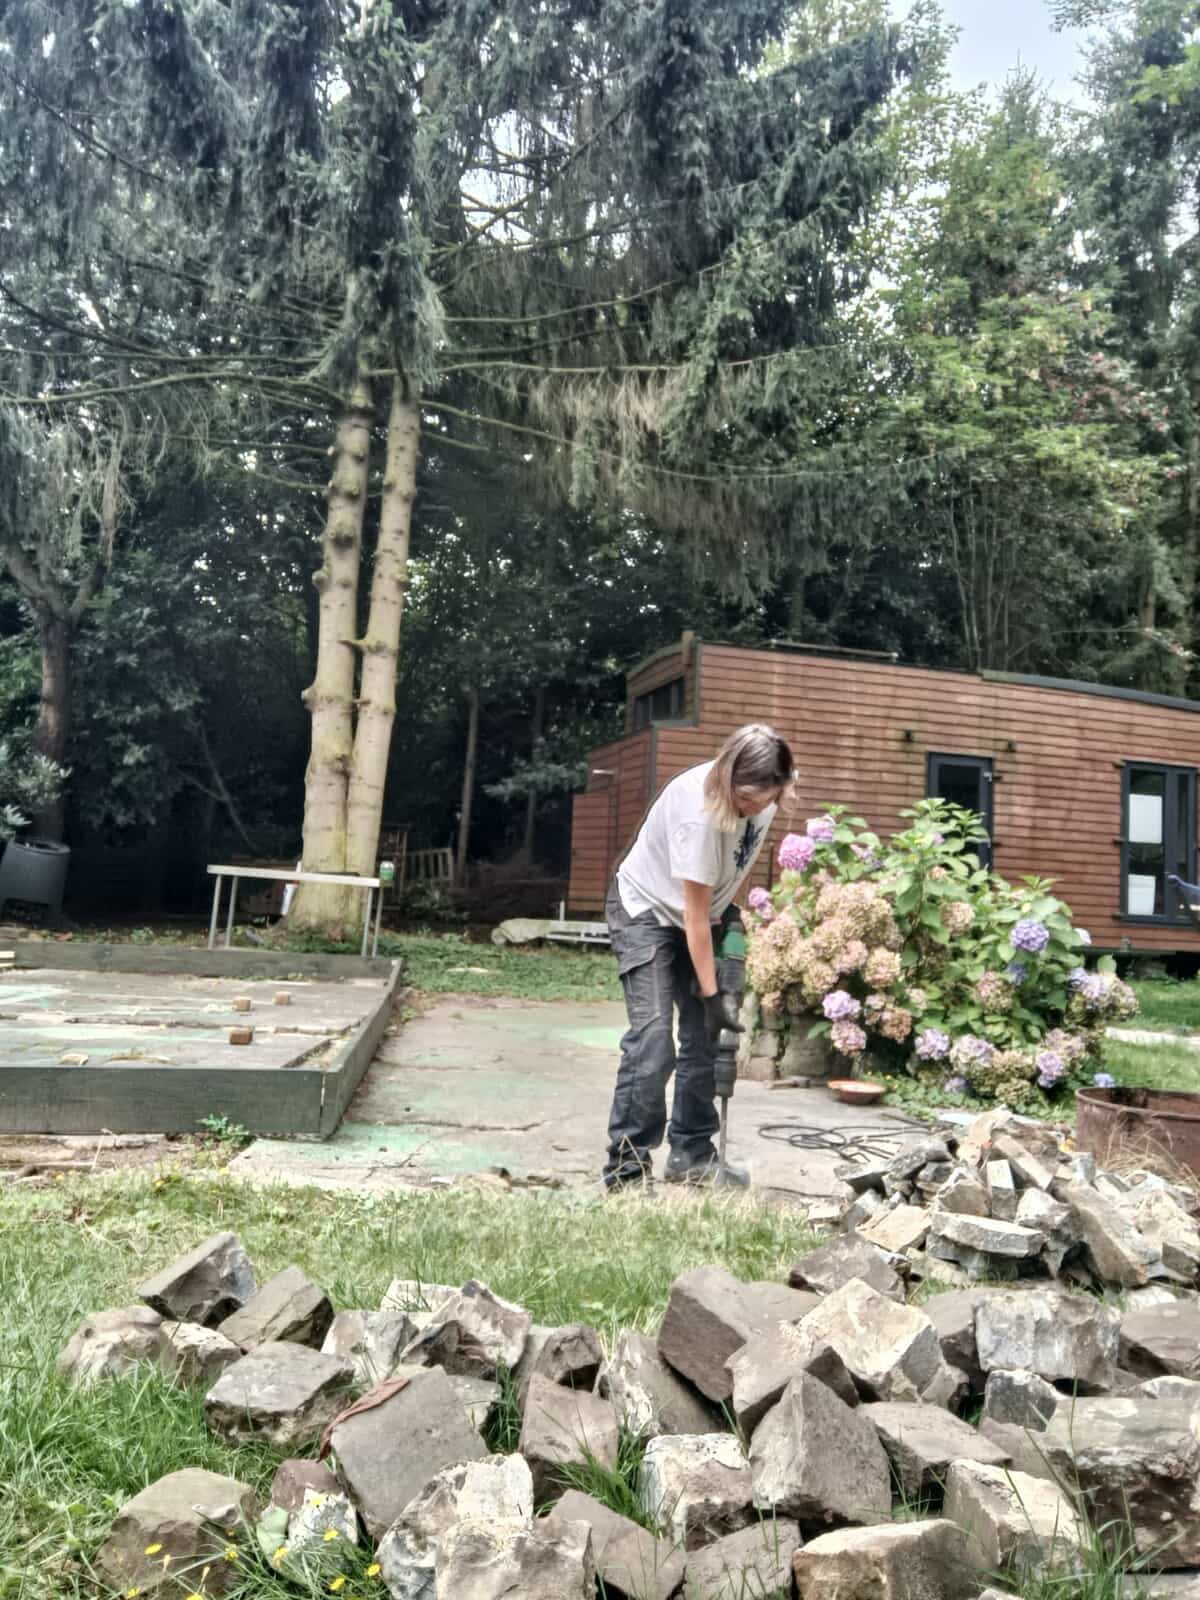
Phase 3: Creating a sacred space for the labyrinth
Bringing a labyrinth into your garden is about more than just the structure itself; it’s about creating a sacred space that embodies serenity, stillness, and beauty. To achieve this, some work was necessary.
#### Step 1: Framing the Area
I began by outlining the frame of the labyrinth area. This layout was designed to align geometrically with the overall shape of the garden, ensuring harmony within the space.
#### Step 2: Test Drawing
Next, I created a test drawing of the labyrinth. This step allowed me to visualize the design and identify any adjustments that needed to be made. It was crucial to ensure that the labyrinth would fit well within the designated area
#### Step 3: Physical Cleanup
The final step involved physically cleaning up the space surrounding the labyrinth. A clean area is essential for maintaining the energy of the sacred space. In my case, this meant removing stones, weeds, and other debris to create a welcoming environment for the labyrinth.
By taking these steps, I ensured that not only the labyrinth itself but also the surrounding area would carry the energy of peace and beauty, making it a truly special place in my garde
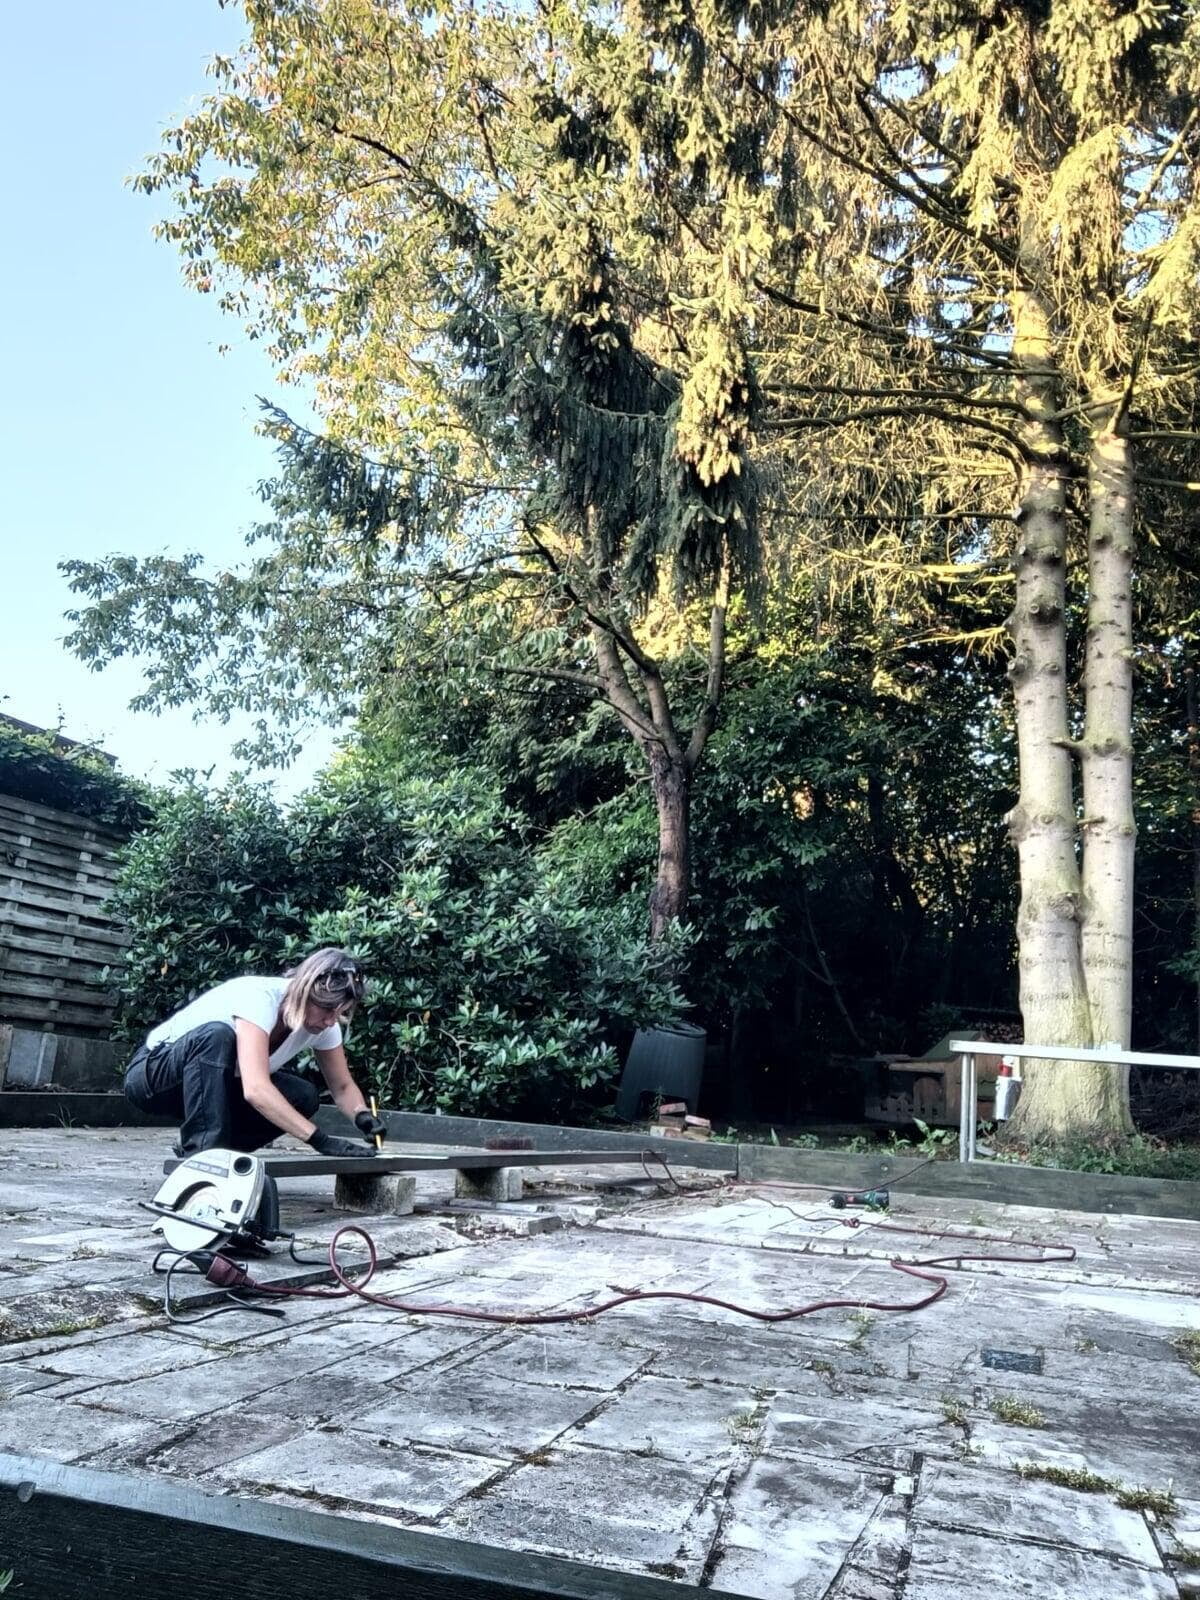
Phase 4: Start to decorate
While working on the layout of the labyrinth, I also focused on fixating the frame and selecting materials for decoration. This phase is just as important as the initial planning, as the right materials can enhance the overall aesthetic and energy of the space.
#### Fixating the Frame
I ensured that the frame of the labyrinth was sturdy and well-defined. This structure serves as the foundation for the entire design, so it was crucial to make it stable and visually appealing.
#### Choosing Decoration Materials
When it came to decoration, there are multiple possibilities to consider. I decided to use materials sourced directly from my garden. This choice not only adds a personal touch but also ensures that the materials harmonize with the location and orientation of the labyrinth.
By selecting natural elements from my surroundings, I created a unified look that improves the sacred space and helps it blend in with the rest of the gardenThis thoughtful approach to materials will contribute to the labyrinth's beauty and serenity.
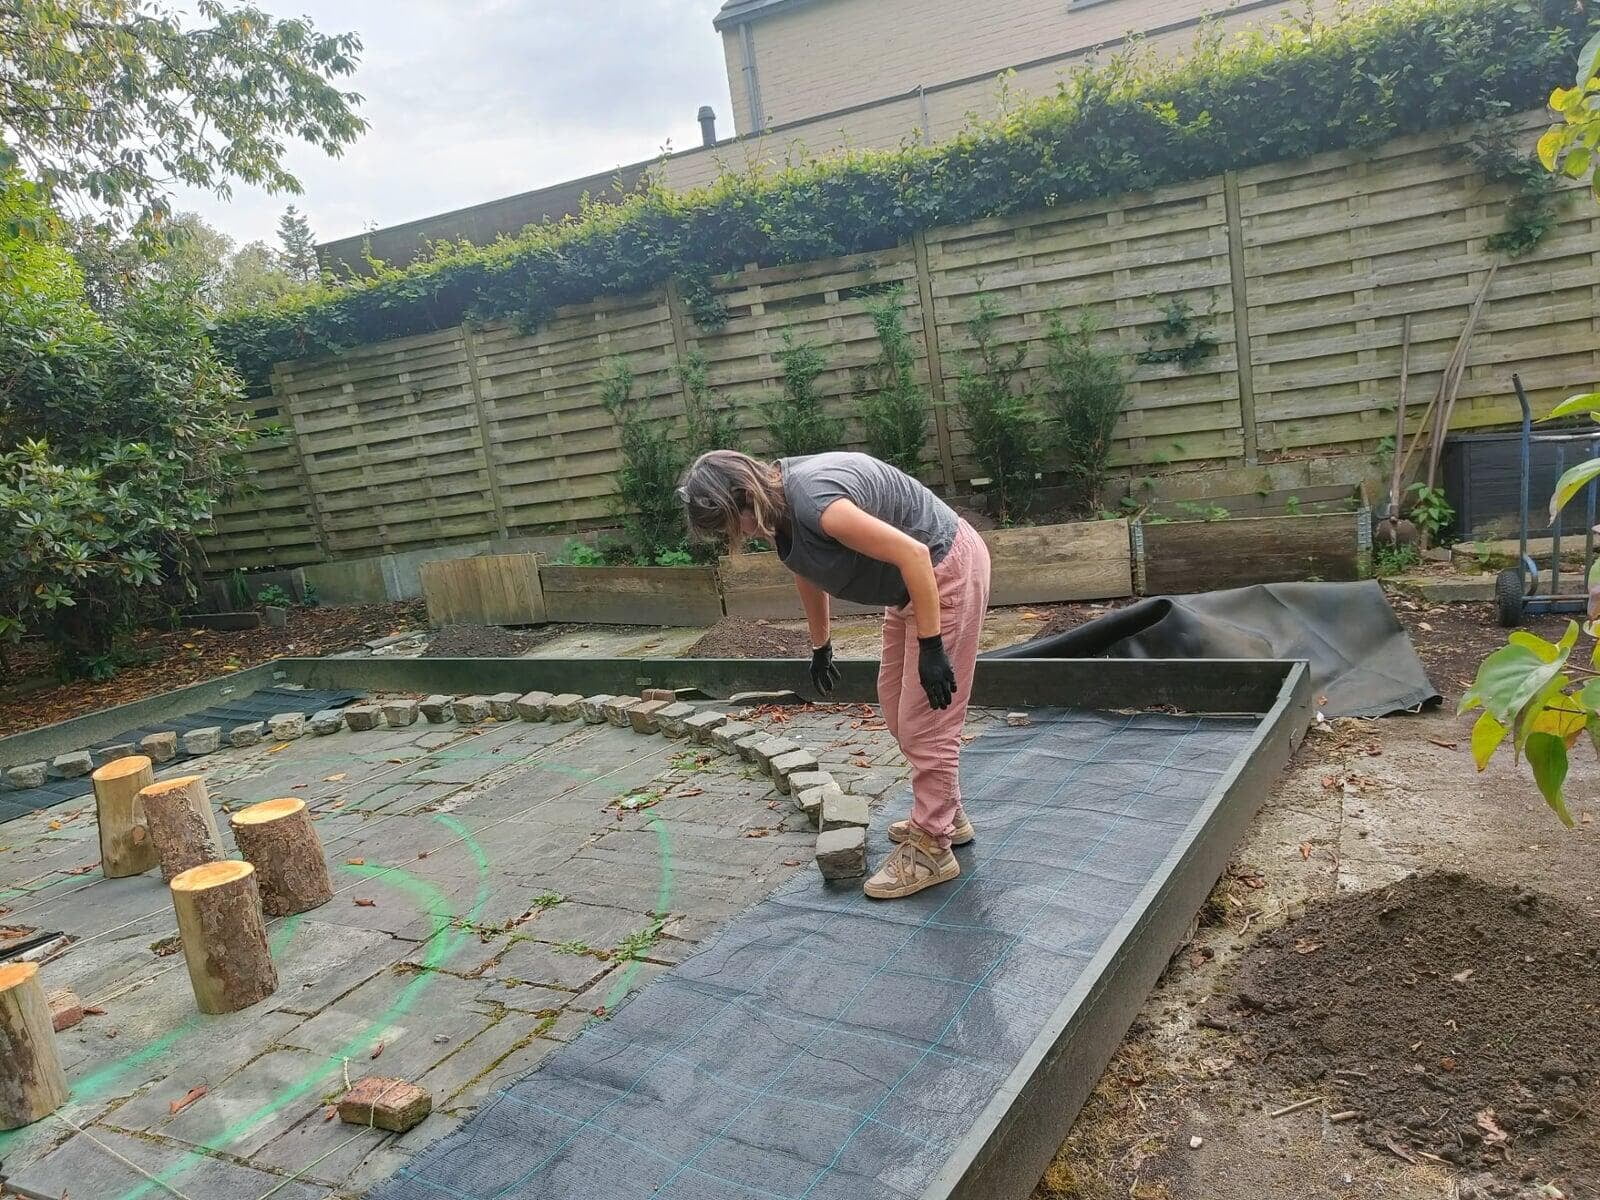
Phase 5: Decorating
### The Exciting Part: Decoration
Finally, I reached the most exciting part of building the labyrinth: the decoration! Each material that entered this sacred space was purified, ensuring that only positive energy would be present. With pure intentions and a mindful approach, I began the decorating process.
It was wonderful to watch the form emerge step by step—or should I say, stone by stone. Each piece added to the beauty and essence of the labyrinth, making the vision come to life.
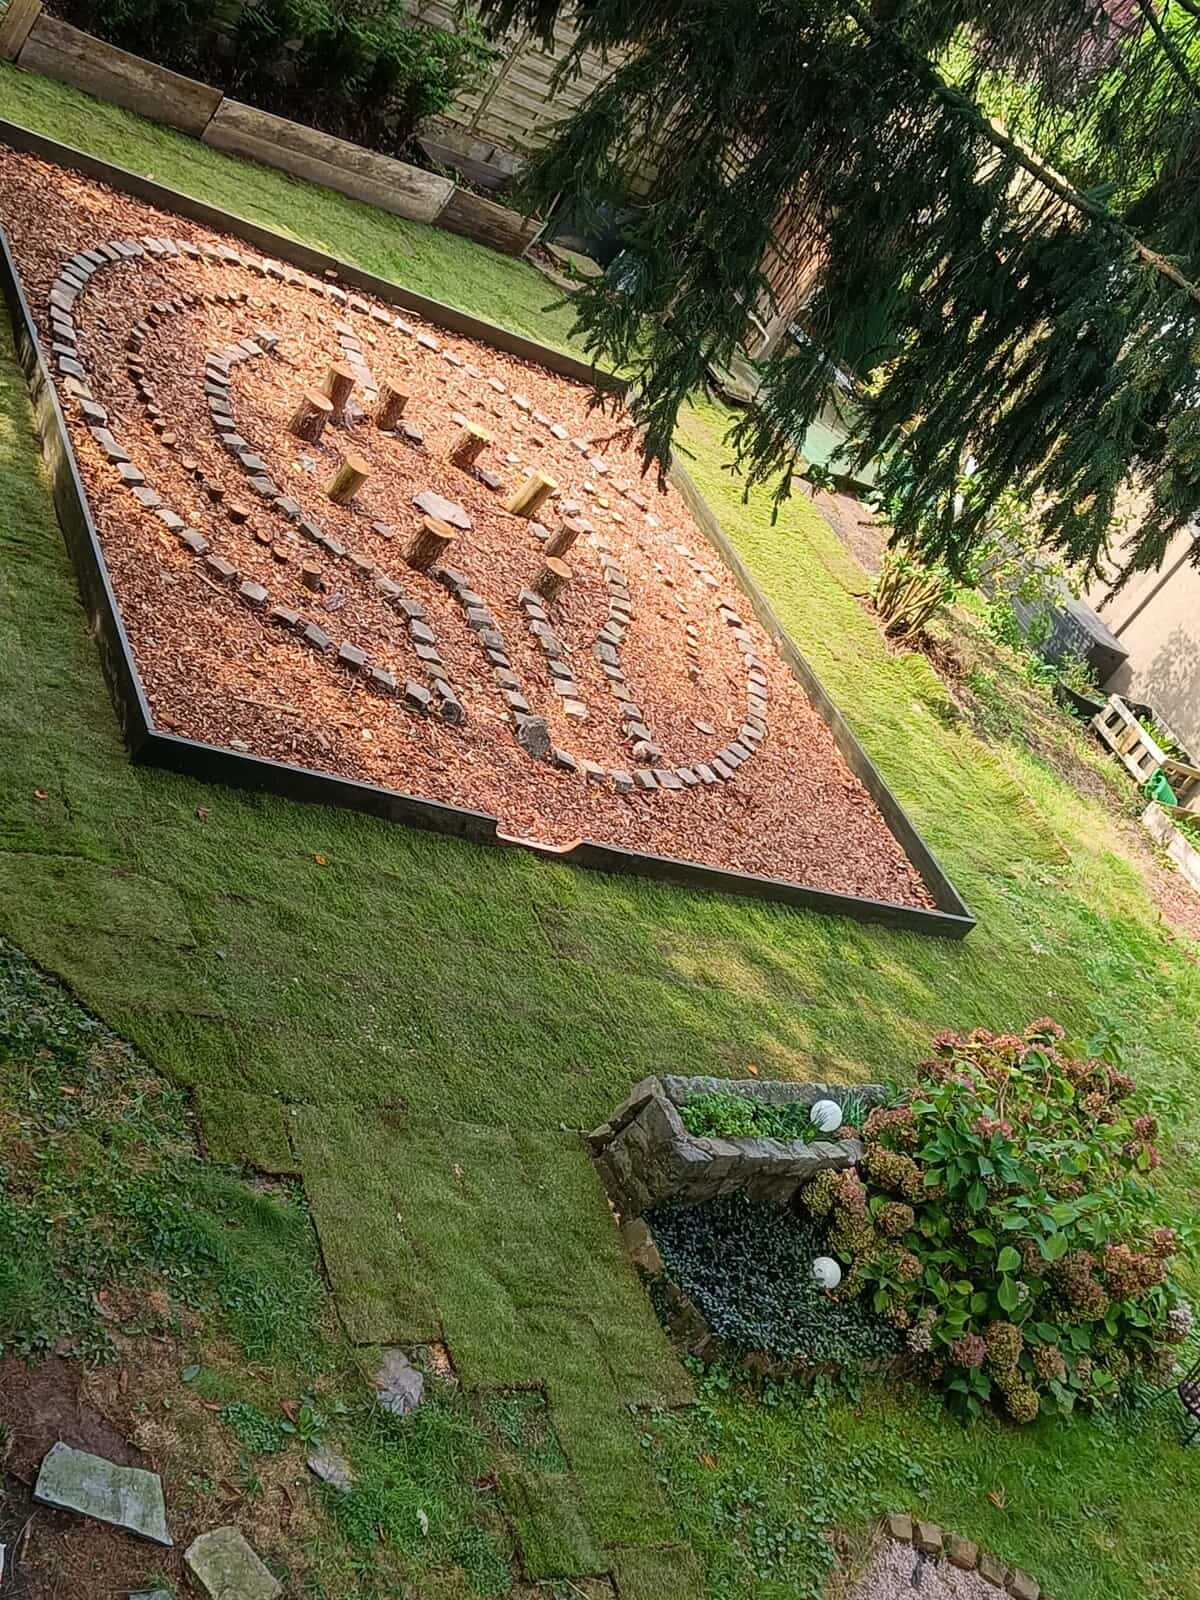
Phase 6: Initiate the labyrinth
After a summer of building my labyrinth, it was time to share the results with you and celebrate this creation. On September 22nd, I hold an opening ceremony for the labyrinth at Oase van Rust in Brecht. It was a wanderfull ceremony through the garden. We ended with a group circle in the labyrinth. It was wanderfull. You can read more on the page of the Oase van Rust.

After reading this, your garden also wants to transform
After reading this, your garden also wants to transform
If this blog has inspired you to create a sacred space in your garden through a labyrinth, I would love to help! Together, we can transform your garden and add a beautiful labyrinth that resonates with your vision. Please feel free to contact me, and let’s start this exciting journey together!

